Little Projects
No digital projects here, but I wanted a place to drop some “manual” projects I had fun (or not) working on. I am just giving an overview of the projects, but if you want to know more about one of them, let me know and I will write a detailed article about the making process.
1) RadRunner ebike
People around me know how much I love my ebike 🚲 ⚡️ as I often post pictures of it when I ride and I regularly buy new accessories to pimp it. The RadRunner 1 from Rad Power Bikes has a 500W motor in Canada, which is plenty to zoom at up to 32 km/h around the city and I was surprised how fast I would still go when having an adult passenger on the back.


From the base version sold, I added mudguards, front basket, LCD controller, passenger seat, crate, bottle holder, frame bag. And of course, I also added a set of secret devices to deter thieves 👀.
I just love how I can bring someone with me to ride around town, and swap the seat for a huge crate to convert it into a cargo bike.

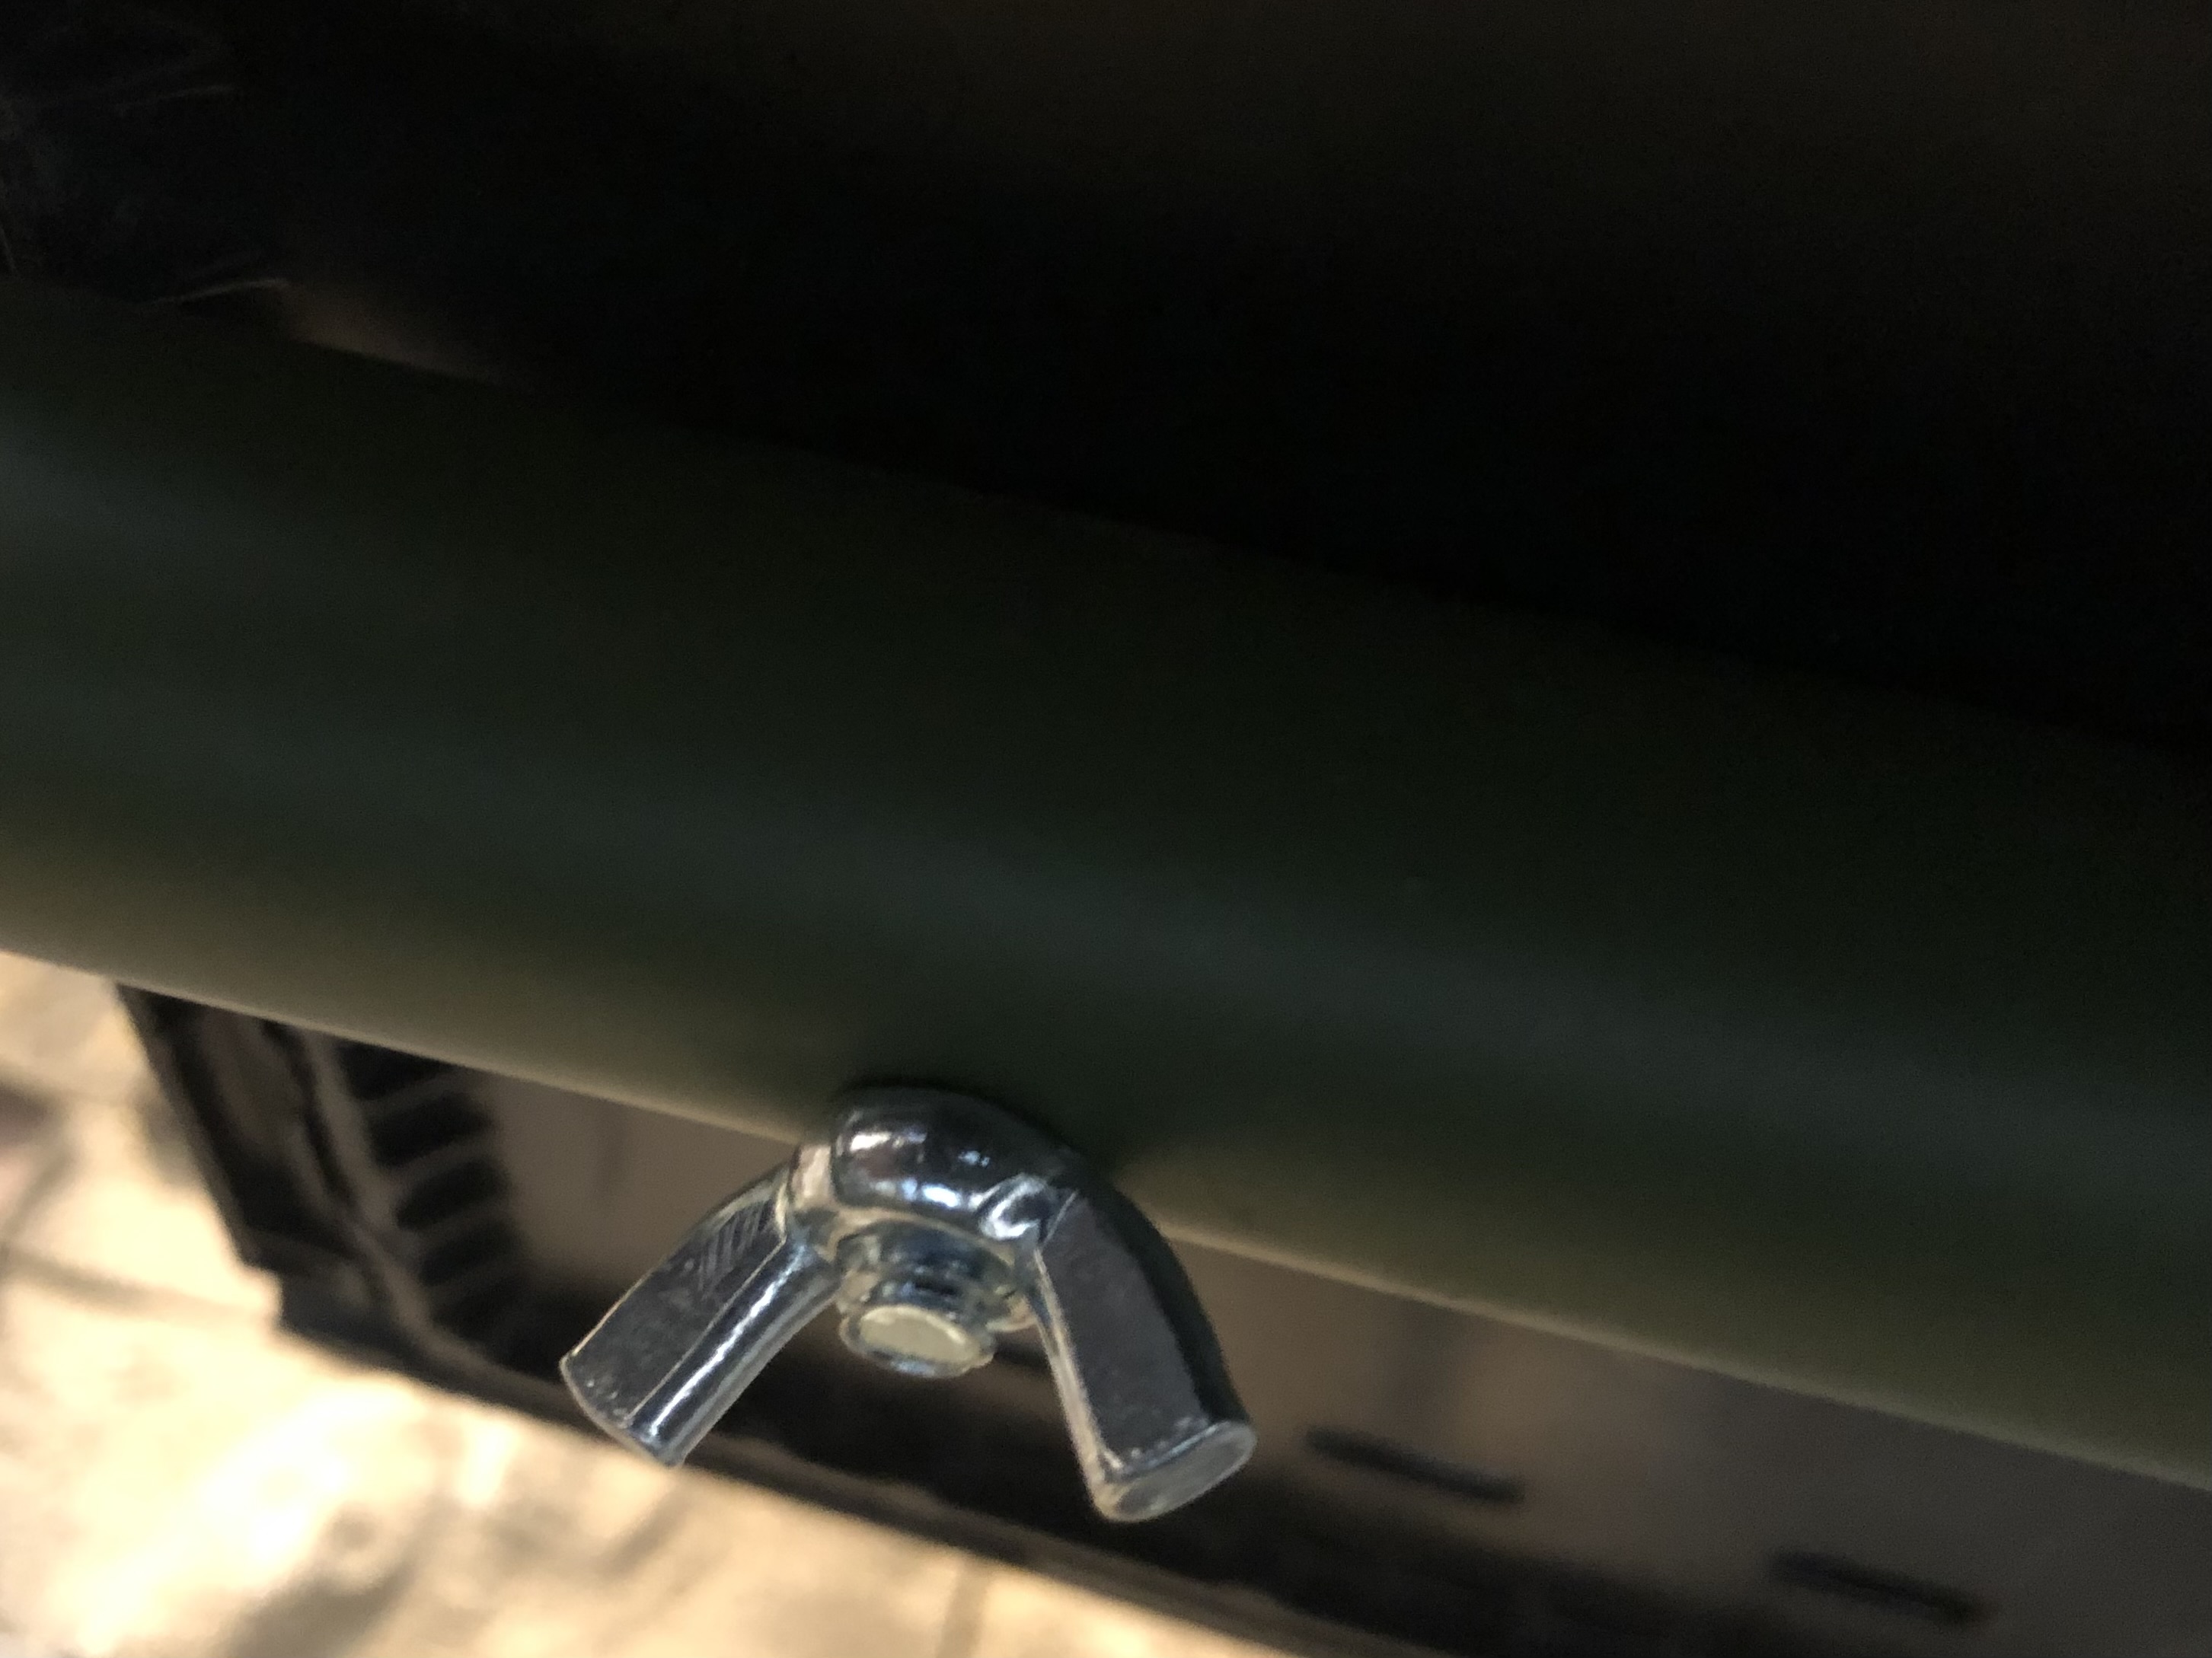
But switching from a setup to another can be long if you have to screw/unscrew parts all the time. You will end up keeping one setup permanently. So I tried to ease the process by using butterfly bolts which allow me to remove setups without needing tools. Yes, it will also be easier for people to steal my accessories but at this point, if someone wants to steal a plastic crate, they’ll do it anyway.
2) Wood cutting board

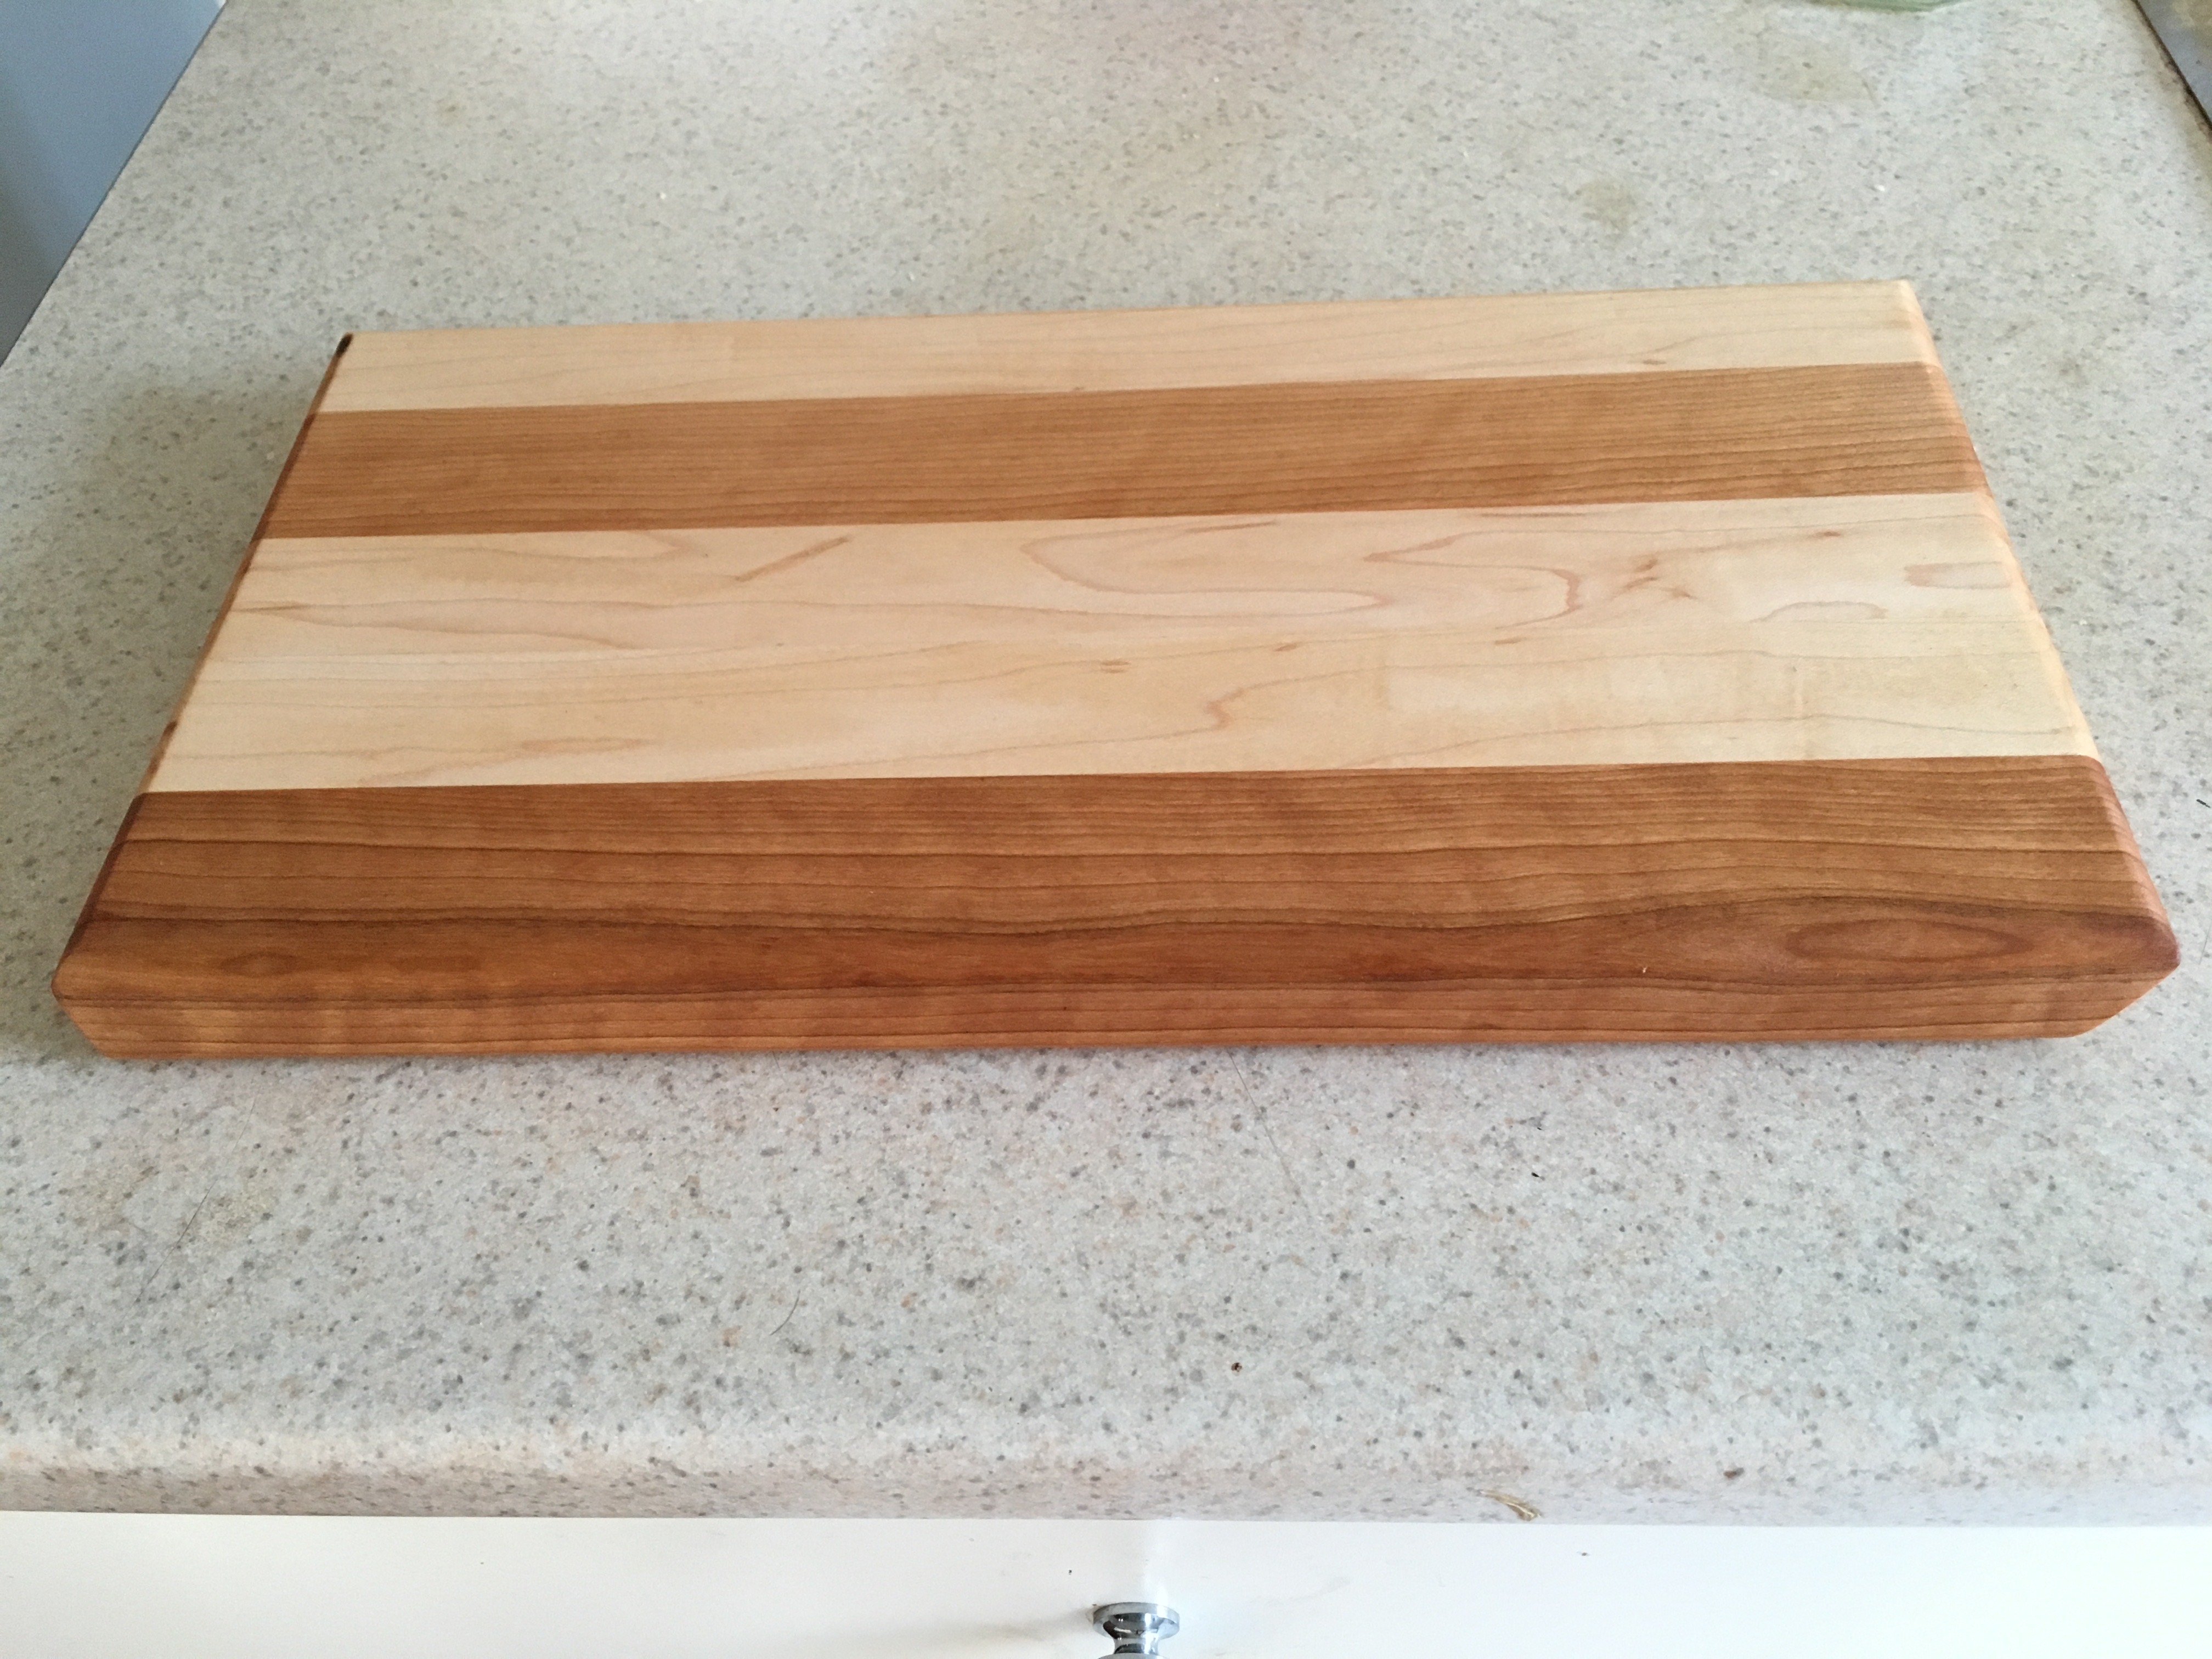
Making a cutting board is fairly easy and straightforward, but I wanted to add a personal touch to it. The right edge is beveled to make it easier to grab. Without it, the board would actually be hard to grip as it is a bit heavy and awkward to handle.
3) Epoxy filled presentation board
For this project, I had a bit of help. This was part of a workshop I attended to learn CNC engraving. But when choosing a design, I had in mind an extra step I wanted to add, which was epoxy filling.


After passing it on a planner and oiling it, here is the final result. Because of the epoxy, I can't use this as a cutting board, so I only use it to present food. Bon appétit 🌊
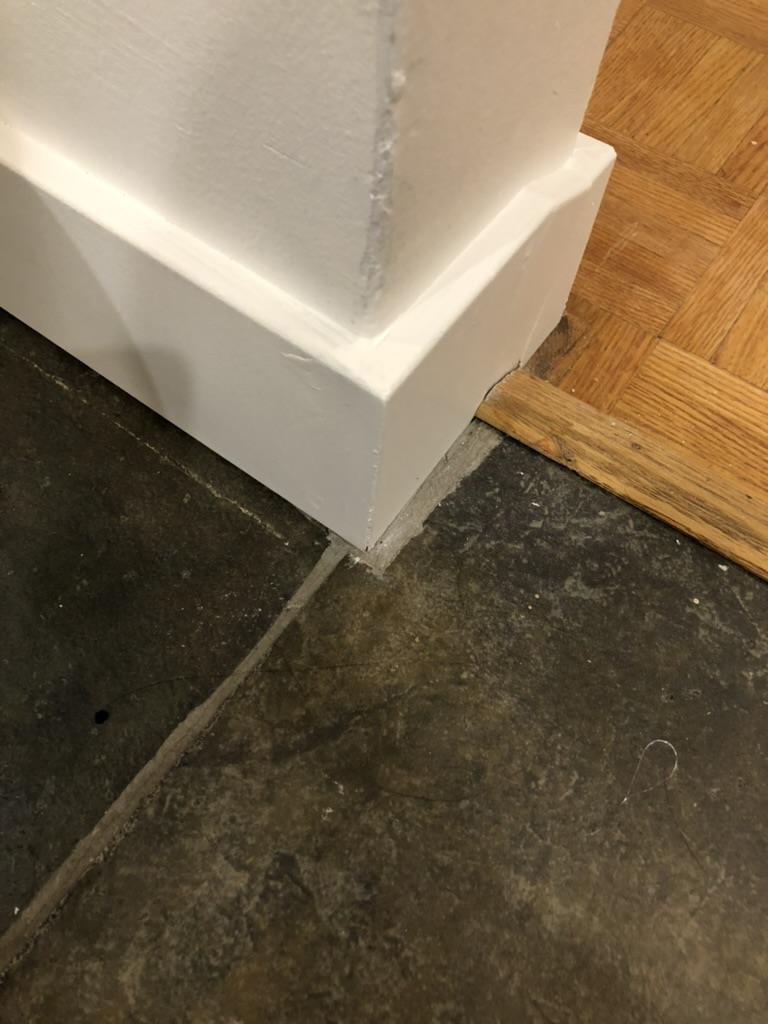
4) Redoing house baseboards
Upon purchasing my apartment, I decided to tear down the old baseboards to replace them for a simpler modern look. Truth be told, this is a project I absolutely hated. I am still proud to have achieved it but it might be one of those projects that you regret to have started when you’re in the middle of it.
Replacing baseboards is not particularly difficult if you have the tools but... how painful and soul-sucking the process is! You have to cut the wood with the proper angle, make sure it fits the adjacent baseboard, nail it to the very uneven wall, caulk it, let it dry, patch the holes, sand the patch, place paint tape, then paint the baseboard. At the scale of your whole apartment... while crouching. 😫
I thought it would take me a month to finish (as a side project) but it took me more than a year. It was a year of seeing my unfinished business in the corner of my eye while at home, a year of staring at unpainted grey baseboards, a year of not seeing the end of it...
Still, I did it. And even if it is not perfect, I am proud of it. I can now say to any amateur that yes, it is an achievable DIY. But do yourself a favor, hire a professional.